Introduction: The Unseen Witness in Modern Driving
In the increasingly complex and disputed landscape of road accidents, traffic violations, and parking incidents, reliable, objective evidence has become an indispensable asset. The proliferation of digital technology has positioned the dash cam (dashboard camera) as the single most effective tool for vehicle owners to secure irrefutable video and audio documentation of events occurring both while driving and while parked.

This small, often unobtrusive device serves as a constant, non-judgmental witness, offering an invaluable layer of protection against fraudulent insurance claims, hit-and-run accidents, and false liability accusations that could otherwise result in significant financial loss and soaring insurance premiums. For many, a dash cam has transitioned from a novelty gadget to an essential component of modern vehicle security and risk mitigation.
The process of selecting and installing a dash cam, however, often deters first-time buyers who are intimidated by the perceived complexity of hardwiring and cable management. Successfully integrating a dash cam into a vehicle requires more than simply sticking it to the windshield; it demands strategic placement for optimal field of view, meticulous attention to power management, and clean cable routing to ensure the device operates reliably without obstructing the driver’s vision or drawing undue attention.
A poorly installed dash cam can fail during a critical incident, expose wires that detract from the car’s aesthetic value, or drain the battery when the vehicle is parked. This comprehensive guide is designed to serve as your definitive, step-by-step instruction manual for selecting and installing a dash cam system safely and discreetly.
We will meticulously break down the essential features to look for when purchasing, provide detailed, accessible instructions for both basic (plug-and-play) and advanced (hardwiring) installation methods, and outline critical legal and operational considerations. By mastering this process, you empower yourself to install a robust security system that provides peace of mind, maximizes insurance protection, and ensures you always have objective evidence when it matters most.
Part I: Selecting the Right Dash Cam System

Choosing the correct dash cam involves evaluating key features based on your vehicle, driving habits, and security priorities.
A. Core Features and Video Quality
Video quality and lens capability are the primary factors determining the usefulness of the captured footage.
- Resolution: Look for a minimum of 1080p Full HD resolution. While 4K offers the highest detail, 1080p is generally sufficient for clearly capturing license plates and faces. Lower resolutions can render evidence useless.
- Frames Per Second (FPS): Ensure the camera records at least 30 FPS. A higher frame rate (60 FPS) provides smoother video and is crucial for capturing clear detail in high-speed incidents.
- Field of View (FOV): The FOV (measured in degrees) dictates how much the lens can see. An FOV between 140 and 170 degrees is ideal, capturing both the road and the side lanes without excessive “fish-eye” distortion.
B. Dual Channel vs. Single Channel
The decision to install one camera or two depends on whether you prioritize protection for external driving or internal/parking security.
- Single Channel: A single camera mounted on the front windshield provides footage of the road ahead and is the simplest setup. This is ideal for basic accident evidence.
- Dual Channel (Front and Rear): This system includes a second camera for the rear window, which is essential for capturing rear-end collisions and tailgating incidents.
- Three Channel (Interior/Cabin): Includes a third camera facing the cabin interior, often utilizing infrared for nighttime clarity. This is essential for ride-share drivers or those who prioritize monitoring vehicle occupants.
C. Essential Security and Power Features
These features ensure the camera captures evidence when you are away from the vehicle.
- G-Sensor (Gravity Sensor): The G-sensor detects sudden impacts (like a collision or a bump while parked). Upon detection, it automatically locks the current footage file, preventing it from being overwritten.
- Parking Mode: This feature allows the camera to remain on or utilize time-lapse recording while the ignition is off. It requires a hardwiring kit to prevent draining the car’s main battery.
- Capacitor vs. Battery: Choose a dash cam powered by a capacitor over a traditional lithium-ion battery. Capacitors are more durable, handle extreme cabin temperatures better, and offer superior longevity.
Part II: Basic Installation (The Plug-and-Play Method)
The simplest installation uses the vehicle’s 12V cigarette lighter outlet. This method is fast but less discreet and lacks true parking mode functionality.
A. Strategic Camera Placement
Proper placement ensures maximum visibility while complying with local laws regarding windshield obstruction.
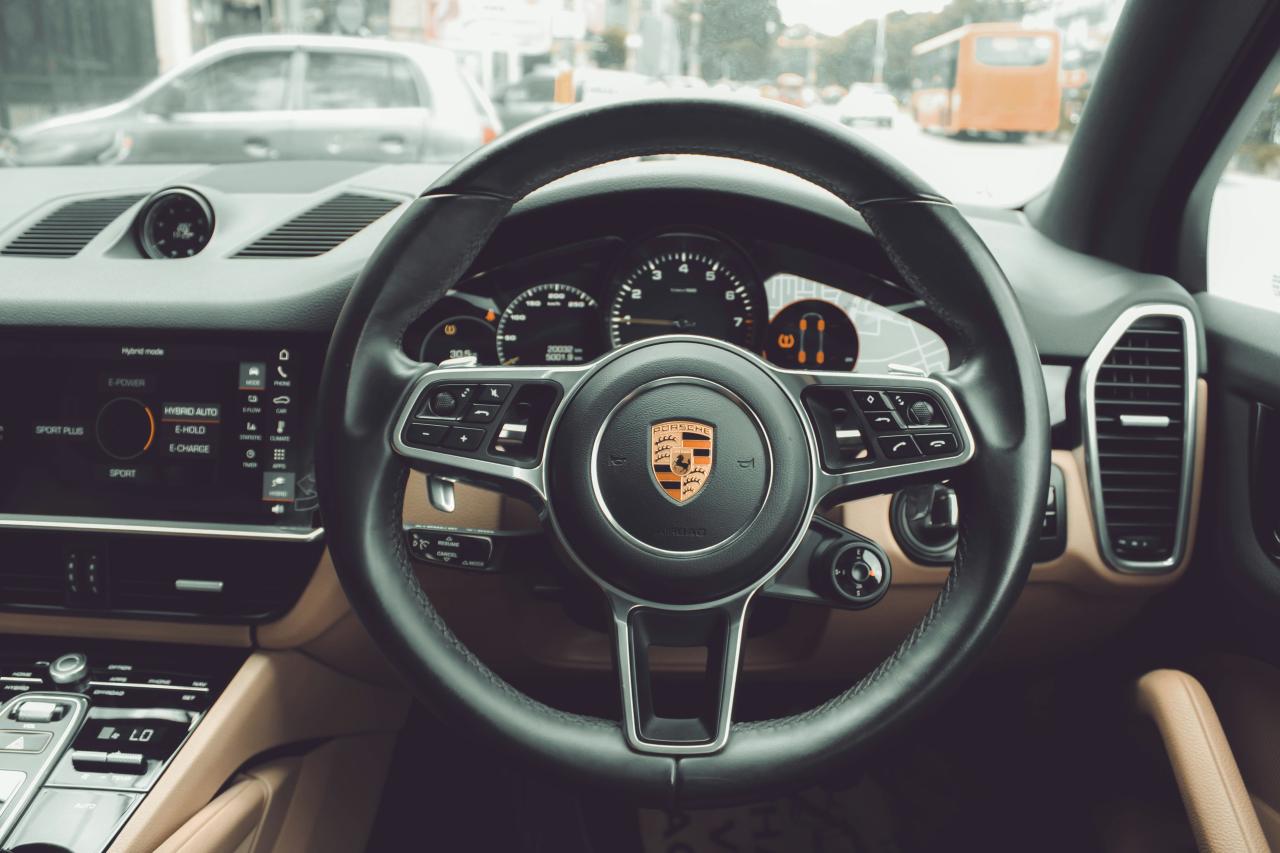
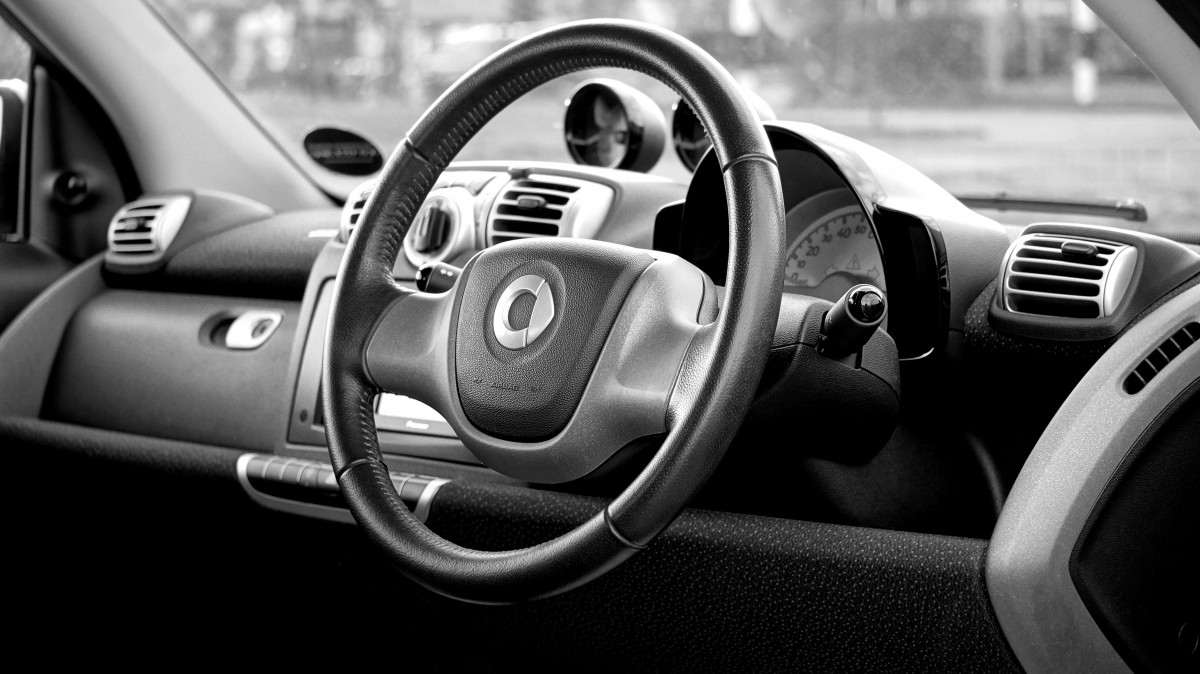
- Location Rule: Mount the camera in the center of the windshield, typically behind the rear-view mirror. This placement maximizes the field of view and minimizes obstruction to the driver’s vision.
- Avoid Obstruction: Ensure the camera’s lens is not blocked by the wiper blades, the inspection stickers, or any tinted “frit” area at the top of the windshield.
- Secure the Mount: Use the adhesive or suction cup mount provided, ensuring the windshield is completely clean and dry before attachment to prevent the camera from falling off mid-drive.
B. Powering and Routing the Cable
The goal of cable routing is discretion and safety, hiding the cable from view.
- The Cable Path: The power cable must run from the camera, across the top edge of the windshield, down the passenger-side A-pillar, and then to the 12V outlet (cigarette lighter).
- Tucking the Cable: Gently tuck the power cable into the gap between the headliner (ceiling fabric) and the windshield trim. Use the trim removal tool or a thin plastic card to push the cable out of sight.
- A-Pillar Safety: Run the cable down the A-pillar and around the side of the dashboard, being careful not to obstruct any side curtain airbags. Always run the cable around the airbag path, not directly in front of it.
- Outlet Connection: Plug the power adapter into the 12V outlet. Ensure the cable does not dangle or interfere with the gear shift or foot pedals.
Part III: Advanced Installation (Hardwiring for Parking Mode)
Hardwiring connects the dash cam directly to the car’s fuse box, enabling parking mode and a fully concealed installation. This requires more technical skill.
A. The Hardwiring Kit Requirement
Hardwiring requires a specialized kit and an understanding of your vehicle’s fuse box.
- Kit Components: The kit typically includes two wires (a constant power wire and a switched power wire) and a ground wire. It also includes fuse taps, which allows the cam to draw power safely from existing fuse slots.
- Locating the Fuse Box: Consult your owner’s manual to locate the vehicle’s interior fuse box, which is often found under the dashboard, near the driver’s door, or in the glove compartment.
- Identifying Power: Use a multimeter or a circuit tester to identify two types of fuses: a Switched Fuse (gets power only when the engine is on) for regular driving mode, and a Constant Fuse (gets power even when the engine is off) for parking mode.
B. Connecting the Wires Safely
Safety is paramount during hardwiring. You are tapping into the vehicle’s electrical system.
- Switched Power Connection: Connect the hardwiring kit’s switched wire to the fuse tap, and plug it into a non-essential fuse slot that only powers when the ignition is on (e.g., the radio or horn fuse).
- Constant Power Connection: Connect the constant wire to the fuse tap and plug it into a fuse slot that is always powered (e.g., the door lock fuse). This ensures the camera can detect impact or record time-lapse while the car is parked.
- Ground Connection: Connect the ground wire to a bare, unpainted metal bolt or chassis point near the fuse box. This completes the circuit safely.
C. Cable Management and Final Check
A professional hardwired installation should leave no visible wires in the cabin.
- Concealment: Route the camera wire entirely behind the interior trim panels, headliner, and gaskets. Use the same technique as the basic install, but hide the remaining cable slack neatly near the fuse box.
- Low-Voltage Cutoff: Ensure the hardwiring kit has a low-voltage cutoff feature. This automatically shuts off the camera if the car’s battery voltage drops below a safe threshold (e.g., 12V), preventing the dash cam from draining the car battery completely.
- Test Parking Mode: After installation, lock the car and wait five minutes. Test the parking mode by gently rocking the car to ensure the G-sensor activates and records correctly.
Part IV: Legal and Operational Best Practices
The functionality and legality of your dash cam depend on adherence to specific rules and guidelines.
A. Legal Considerations
Laws regarding video recording and mounting vary significantly by jurisdiction.
- Windshield Laws: Ensure your camera placement does not violate local laws restricting items attached to the windshield or obstructing the driver’s view. Mounting behind the rearview mirror is safest.
- Audio Recording: Be aware of local laws regarding audio recording. Some states require two-party consent to record conversations. Always check consent laws before enabling interior audio recording.
B. SD Card Management (The Failure Point)
The Micro SD card is the most common point of failure for any dash cam.
- High Endurance Card: Use a High Endurance Micro SD Card designed specifically for continuous loop recording, not a standard consumer memory card. Standard cards quickly fail under the constant read/write cycles of a dash cam.
- Format Regularly: Format the SD card directly within the dash cam’s menu once every month or two. This optimizes its performance and helps prevent file corruption.
- Capacity: Choose a card capacity (e.g., 64GB or 128GB) that allows the camera to hold several hours of driving footage before looping over, ensuring critical incidents are not immediately overwritten.
C. Operational Integrity
- Angle Check: After installation, check the camera’s angle via the mobile app or screen. Ensure the horizon is level and the camera captures the full hood for perspective, providing clear, usable evidence.
- Date/Time Stamp: Ensure the date and time stamp are accurate. Inaccurate stamps can compromise the integrity of the footage as legal evidence.
Conclusion: Security Through Documentation
Installing a dash cam is a highly proactive investment in vehicle security and personal liability protection, providing an unblinking, objective witness to any event on the road or while parked. Successful setup requires strategic placement—typically behind the rearview mirror for minimal driver obstruction—and meticulous cable management for aesthetic appeal.
While plug-and-play installation offers simplicity, hardwiring provides the essential, fully concealed power source needed to activate continuous parking mode protection, guarding against hit-and-run incidents. By prioritizing a high-endurance SD card and ensuring the date/time stamp is accurate, the driver guarantees the integrity and usability of the captured footage as legal evidence.
This simple, informed installation process transforms the vehicle into a digitally protected asset, minimizing financial risk and providing invaluable peace of mind.